Outdoor Photography: Getting Started
By Kendal Doerksen
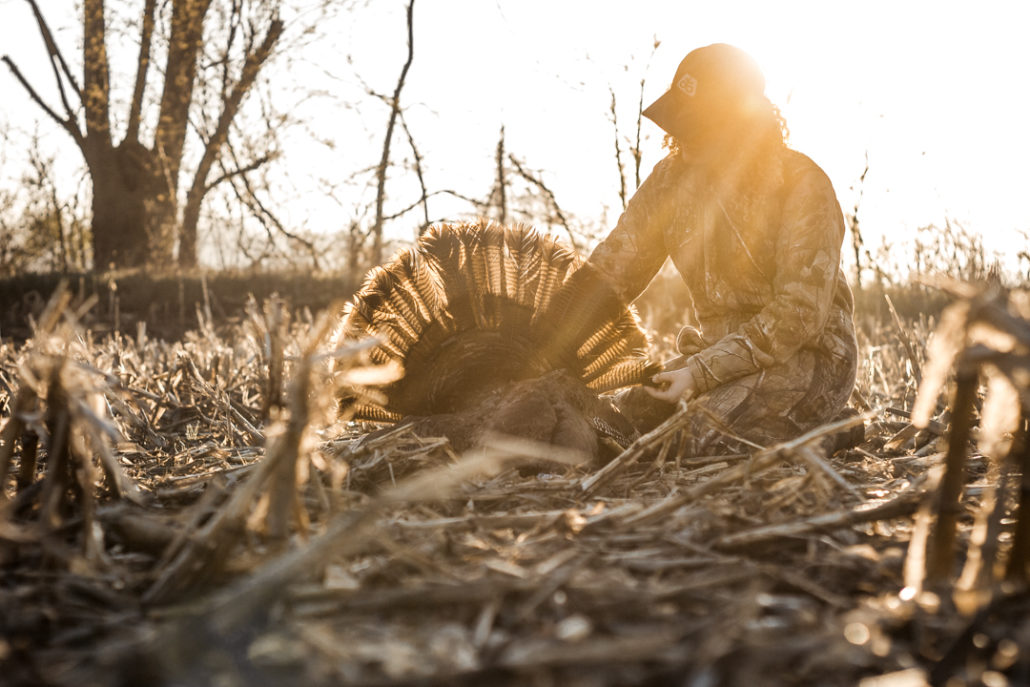
Photography within the hunting and fishing communities has become increasingly more popular.
As hunters and anglers, we often relish the opportunity to share our outdoor experiences with those around us. Our adventures regularly become the topic of conversation while gathered around a campfire or the dinner table. We share images of our kills and catches with one another and reminisce of the trips which allowed us to experience true wilderness. This concept of visual storytelling dates back thousands of years and has been preserved through cave drawings of primitive hunting and fishing practices. The introduction of modern technology and social networking has changed the medium in which we share our experiences yet the desire to share our passions are still present.
Photography within the hunting and fishing communities has become increasingly more popular. Companies such as Yeti, Sitka Gear, and First Lite have become known for their quality photography and many brands have begun investing more resources into their visual presence. In turn, more and more outdoorsmen and women have shown interest in improving their photography skills. However, getting started can be daunting and often times confusing when it doesn’t need to be. The first step in improving your photography is understanding your equipment.
What Camera Should You Use
If your goal is begin taking more professional photographs, a DSLR (Digital Single Lens Reflex) camera is the way to go. A DSLR allows you to change between different lenses depending on the situation or your personal preference. The number one question that every beginner wants to know is; what camera body should I start with? I have listened to many podcasts and read several articles which will have you believe that if you are going to buy your first DSLR you will need up to $1000. In my opinion that is completely unnecessary.
To begin with, buying a brand new camera is not a requirement. My first DSLR, which I still use to this day, is a Canon T1i which I found on Kijiji (the Canadian equivalent to Craigslist) for $120 which I paired with a $50 lens (50mm f/1.8). Most camera manufacturers offer cameras that cater to beginners and hobby photographers. To find the camera that is right for you, you must first set a budget. When setting your budget, take into account that you will also need to invest in a lens to pair with your camera body. Once you have a budget set out, initiate a search for used cameras within your area.
I like to Google search camera comparisons (ex. Canon 70D vs Nikon D7200) in order to gain a better understanding of whether or not a particular camera will suit my needs. Newer or more expensive cameras will often have better low light performance, faster focusing, and other advantages which you should consider. If you do your research you should be able to find a great deal on a camera that will suit your needs and budget. Once you have a camera body picked out, pairing it with a lens is the next step.
Choosing a Lens
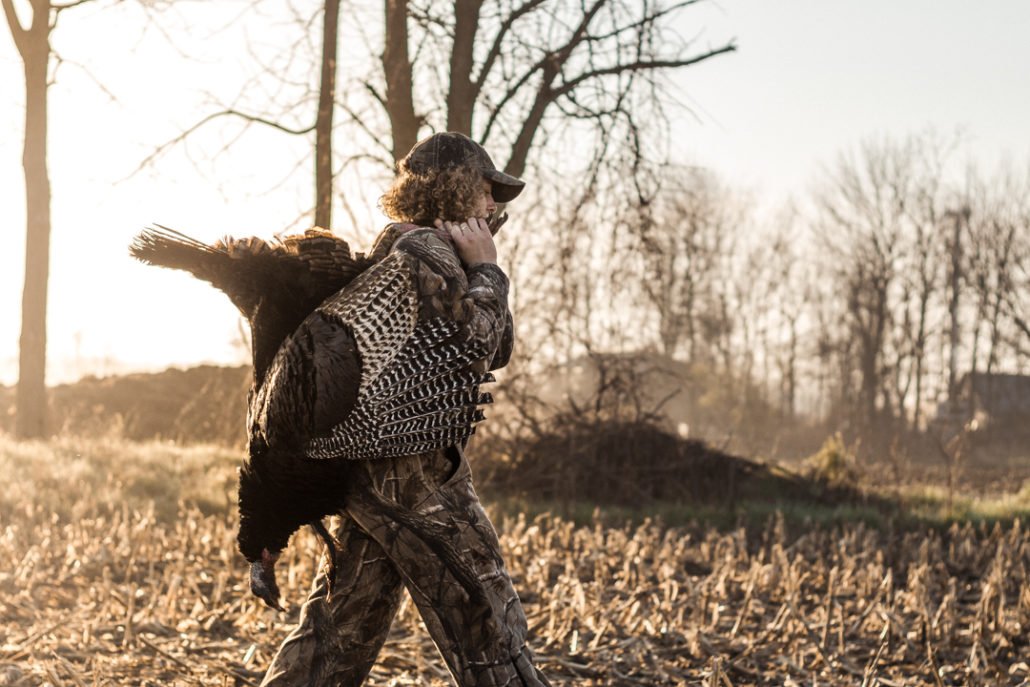
There are a variety of different lenses on the market to choose from and the correct lens for your use is dependent on the type of images you want to take. My first recommendation would be a 50mm f/1.8 lens that fits your appropriate camera. These lenses are widely available, provide good lowlight performance, and allow for a nice out of focus background (known as bokeh). The 50mm is a great all–around lens as long as you have the ability to move around freely to frame your shot. This lens is a prime lens meaning it has a fixed focal length of 50mm and is unable to zoom in or out. The 50mm is my go-to lens for all hunting and camping photography as well as some fishing photography
¨Due to the elusive nature of a wild animal, a lens with a long focal length is necessary in order to take images from greater distances.¨
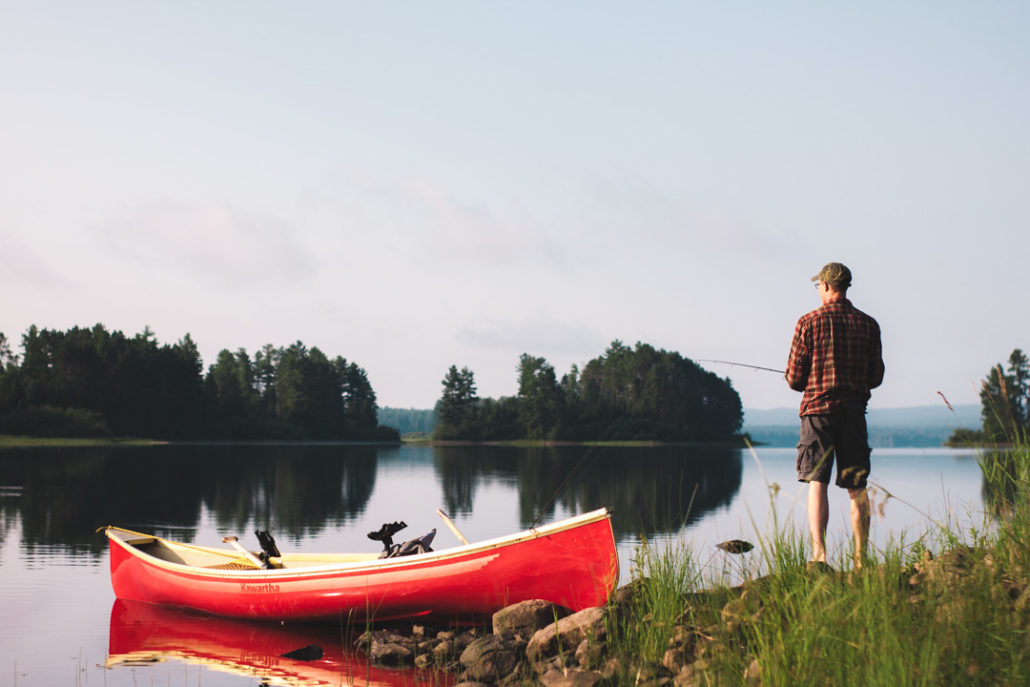
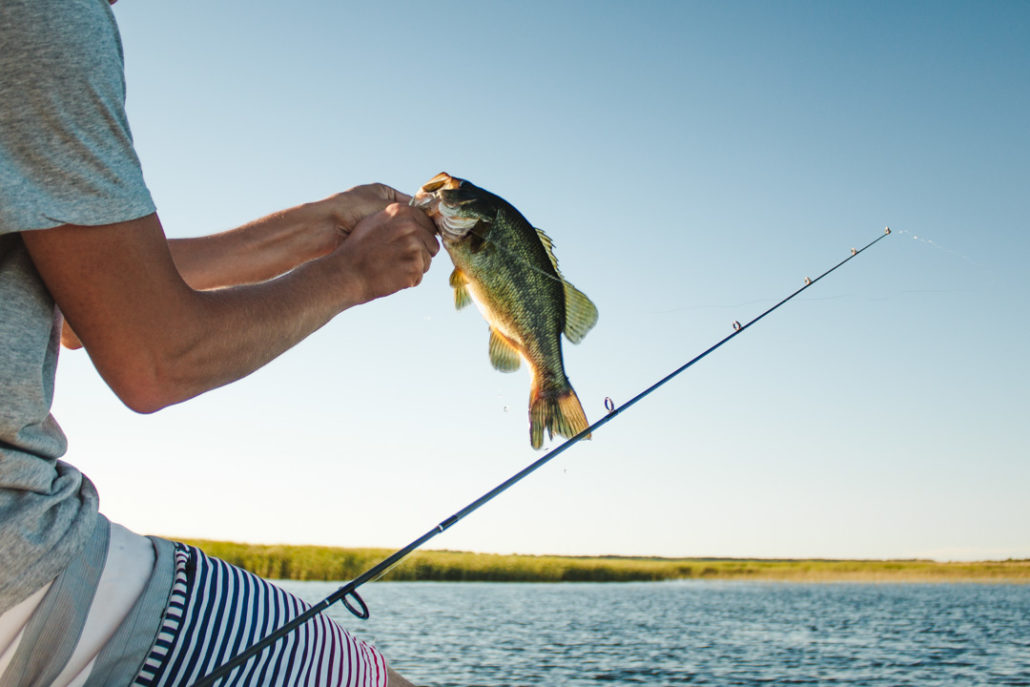
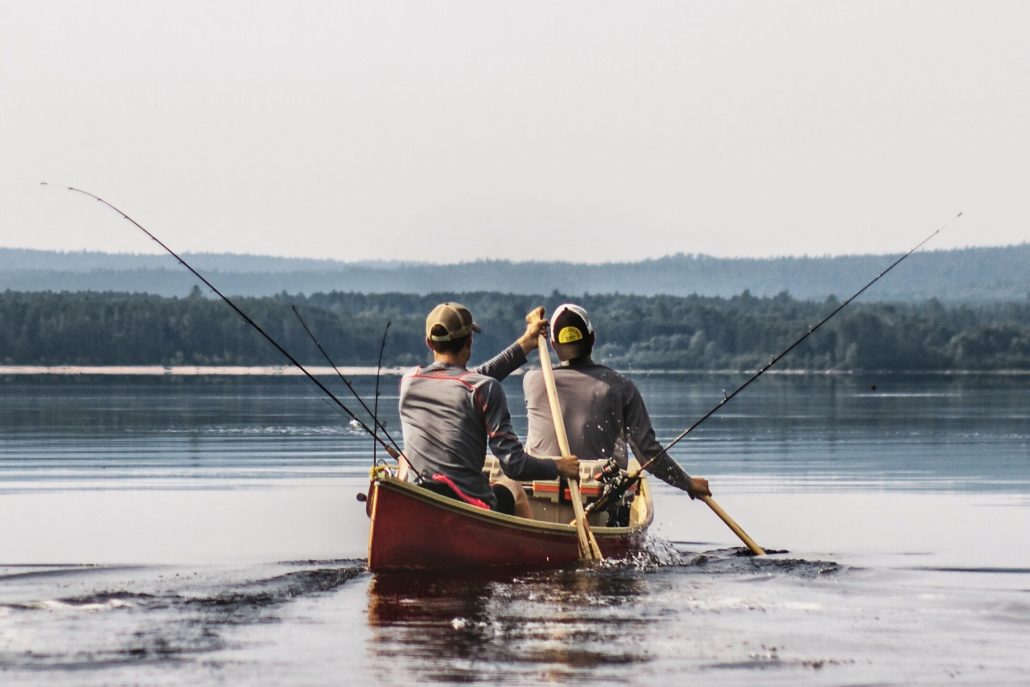
However, when I am limited to shooting fishing photos on a boat or confined area, the 50mm focal length is often too zoomed in and a lens with a wider field of view is necessary. A kit lens like an 18mm-55mm f/3.5-5.6 can work for this situation. Other applicable lenses may include the 17mm-50mm f/2.8 or a 24mm 2.8 which would allow for better use in closer quarter shooting with limited space. For the most part a kit lens and a 50mm 1.8 will be able to cover most of your outdoor photography needs unless you want to shoot wildlife photos.
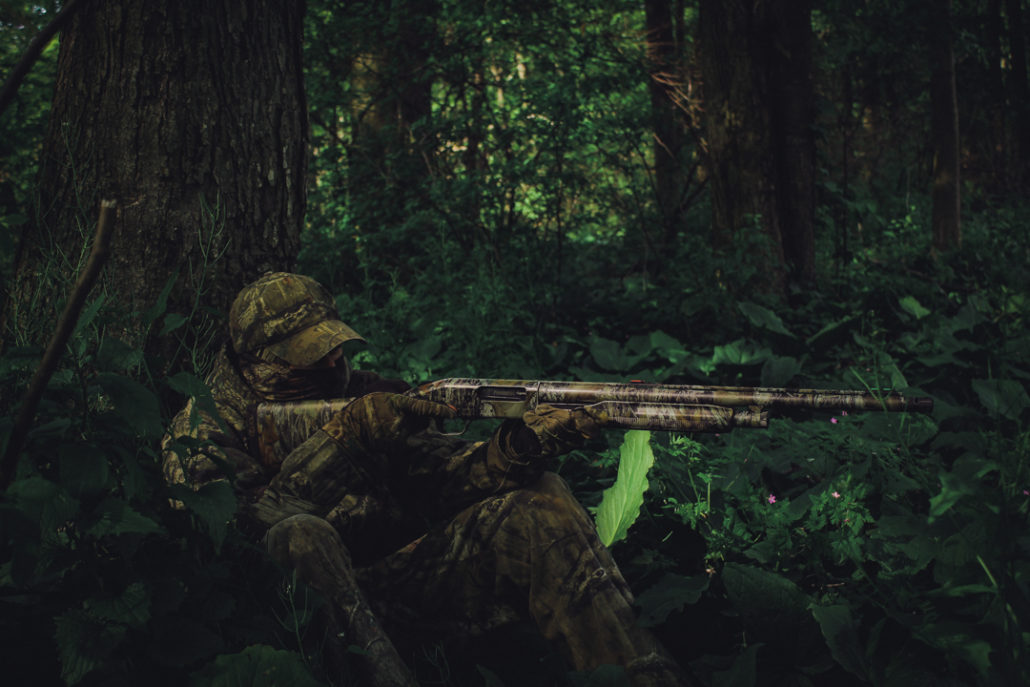
Due to the elusive nature of a wild animal, a lens with a long focal length is necessary in order to take images from greater distances. Some potential options for this situation may be the 55mm-250mm f/4-5.6 or the 75mm-300mm f/4-5.6. These recommendations are just examples, doing your research is very important in choosing the right lens for your situation. Some lenses have image stabilization which reduces camera shake and some have better lowlight capabilities. Generally, a higher price tag on a lens means superior quality glass used which results in higher quality images. Your lens choice will have a greater effect on photo quality compared to your choice of camera bodies. Once you choose a camera and lens setup, there are a few accessories that will help your photography adventures.
Accessory Recommendations
When it comes to accessories, there are two things that I would recommend every beginner photographer buys. Number one is a tripod, it doesn’t need to be an expensive tripod, anything from Wal-Mart will suffice. Amazon is also a great place to find a tripod but be careful that you understand exactly what it is you are buying. Be sure to read the dimensions of a tripod before purchasing from an online source, ideally your tripod should be able to extend up to you eye level. Another accessory I would recommend is a carrying system for your camera gear, whether it is a backpack style or hand carried method will depend on personal preference. Having all your camera gear organized and in one place is important in case an impromptu photoshoot presents itself. Other accessories can be purchased at your own discretion things such as extra batteries, lens filters, external flash, and more SD cards. However, you should start off small and focus more on developing your skills.
Editing Your Photos
If you want to take you photography to the next level, then editing is a crucial aspect of producing professional looking images. Editing your own photos allows you to create your own style that is unique to the type of photo you strive to produce. There are a variety of editing programs available although the best that I’ve used is Adobe Lightroom on desktop. Editing on a mobile platform is another option, apps such as Snapseed and Lightroom Mobile CC are great tools available for editing on your phone. Learning how to use editing software is often a matter of trial and error. Simply take a photo and observe the changes every slider makes to the overall image. There are countless online resources on editing photos which can help too. Once you familiarize yourself with the program you choose, you will begin to develop a system and style which will make editing easier. One thing to note is that editing can’t make a bad photo look good but it can make a good photo look great. Focusing on shooting superior images should come before learning editing strategies.
PRO TIP: If you are going to edit your photos in Adobe Lightroom on your desktop, be sure that your camera is set to shoot as a RAW file (not a JPEG). This will allow for greater editing capabilities and customization.
Start Shooting
Once you have your equipment and a system in place all you need to do is shoot and edit as many photos as you can, taking advantage of every photography opportunity. Focus on learning skills such as composition, proper image exposure, and how to use natural lighting. YouTube and Google can be great teachers but will never replace immersing yourself in the different challenges that outdoor photography presents. Your skills will grow with every photo you take and there is no substitute for experience. Get outside and enjoy capturing the passion that encapsulates so many of us!
